Code 3 Police Callouts Your First Full Shift
Gear, garage, dispatch, arrival, scene work, and a clean clear.
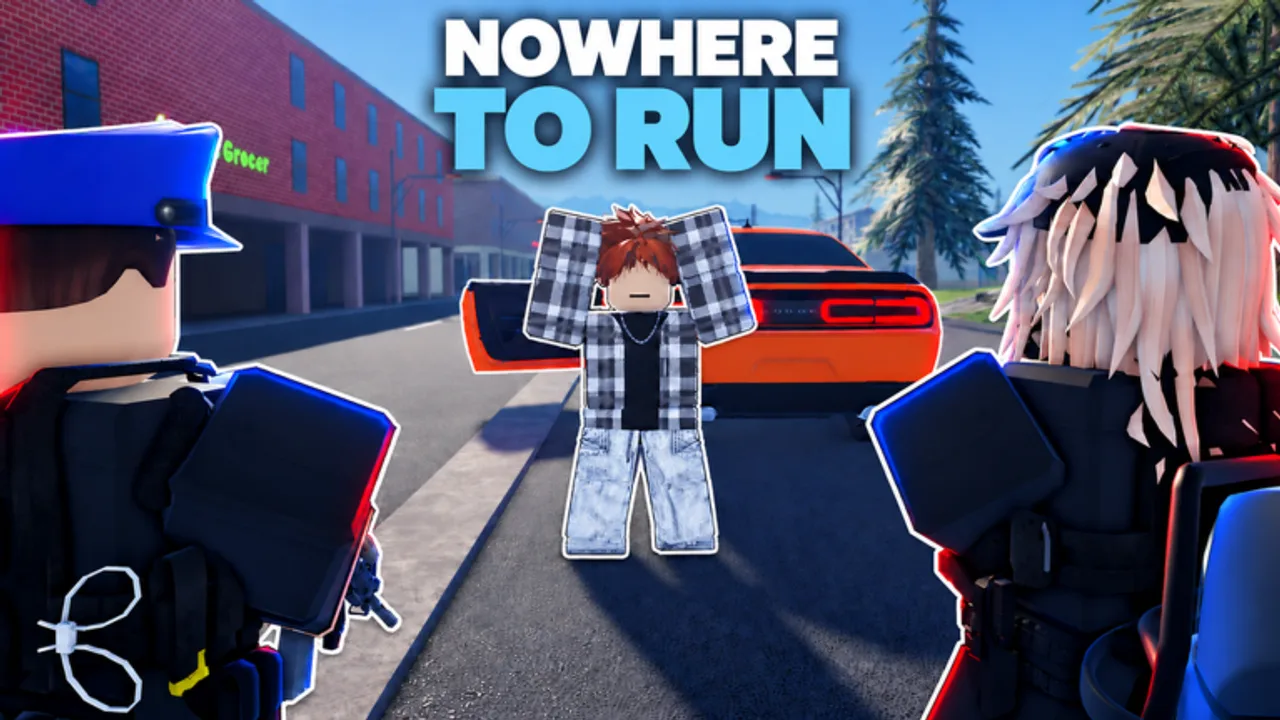
A first full shift in Code 3: Police Callouts is more than surviving the tutorial. You want a repeatable loop: gear up, take a car, accept dispatch, arrive with a plan, work the scene, book if needed, and clear so XP and cash credit. This guide assumes you already finished locker-room onboarding from Getting Started. If not, do that first.
Black Sector Games built the experience around hand-crafted callouts rather than endless random filler. That means each scene has a beginning, middle, and end — and rushing the middle is how officers soft-fail objectives. Treat your first unpaid “practice shift” as training even after the Academy ends.
Pre-shift: gear and mindset
Before you leave the station area:
- Confirm duty status. Available officers get calls; off-duty tourists do not.
- Load a simple kit. Early armory unlocks beat fancy weapons you cannot control. Non-lethal options and a reliable sidearm cover most first-shift work.
- Know your unit. Police and Sheriff handle the broad patrol mix. SWAT and FBI bring specialized scenes — only bring that heat if you unlocked or purchased access and understand Callouts.
- Check codes once. If GUNZCUSTOMS or GARAGE still work, redeem via Codes before you roll.
- Glance at weather and time. Night and rain cut visibility; slow approaches and use headlights/lights thoughtfully.
Your goal for shift one is competence, not highlight-reel pursuits. Two or three clean clears beat five abandoned scenes.
Garage: pick the right first car
The garage holds 30+ vehicles with working lights and sirens, marked and unmarked.
- Marked patrol — best trainer. Civilians and other players see you coming; you practice light/siren discipline in the open.
- Unmarked — excellent later for stings and FBI-style work; easy to misuse on day one when you still need presence.
- Specialty packs (muscle, hypercars) — fun, not required. See Vehicles tier list and Game Passes before spending Robux.
Spawn, sit, test lights, test sirens, and confirm you remember how to despawn/swap. If you own Mobile Garage, you can respawn without walking back — useful, not mandatory for learning.
Dispatch: accept with intention
When a call drops:
- Read the type (party, hazard, robbery, bomb threat, sting, etc.).
- Note the priority implied by the text and your unit.
- Accept only if you can commit. Dropping mid-scene wastes the hand-built setup for everyone on a 15-player server.
- If teammates are free, squad up before wheels roll — robberies and bomb threats reward coordinated entry.
Quiet calls teach dialogue and MDT habits. Loud calls teach perimeter and cover. Mix both across the shift instead of cherry-picking only gun calls.
En route: Code response without chaos
“Code 3” in policing language means lights-and-siren emergency response. In this game, match response to risk:
- High threat / time-critical — lights and sirens, assertive driving, still watch intersections.
- Noise complaints / minor hazards — calmer response; screaming in hot can escalate a scene that wanted a soft touch.
- Undercover stings — unmarked posture and quiet arrival matter; see callout notes.
Deep dive priorities live on Callouts. For the first shift, the rule is simple: if people may be dying or shots are involved, hurry with lights; if it is a party, arrive controlled.
Arrival: park like an officer
Bad parking creates bad scenes.
- Stop short of the exact hotspot when cover matters — do not nose into a robbery doorway.
- Angle the car for a quick reverse if you need to reposition.
- Leave room for a second unit; squads need space too.
- Exit with awareness of pedestrians, suspects, and other players’ vehicles.
Announce yourself through actions: lights for presence on traffic/hazards, quieter approach when stealth is the point.
On scene: work the loop
Every healthy scene follows a rhythm:
- Observe — count people, spot weapons, note vehicles.
- Talk — use dialogue options; suspects and witnesses exist to be interviewed.
- Identify — run ID on the MDT before you decide custody.
- Decide — warn, cite, arrest, or clear with no action.
- Act — cuff and escort only when the decision is custody (full flow on How to Arrest).
- Secure — weapons, perimeter, and remaining NPCs.
- Clear — finish objective prompts so the callout can end and rewards can apply.
Traffic-focused scenes should borrow habits from Traffic Stops: safe approach side, documentation, and roadway clearance.
Squad roles on your first shared call
If two or three officers stack:
- Contact — talks and handles MDT.
- Cover — watches hands and angles.
- Perimeter — keeps runners from melting into traffic.
Do not all rush the same door. First-shift squads fail when everyone is Contact and nobody is Cover.
Reporting clear and collecting rewards
A shift only “counts” when calls complete:
- Finish booking if you arrested — half-booked suspects stall progress.
- Confirm UI prompts for call complete / code four style clear.
- Check that cash and XP moved; if not, you likely skipped a marker.
- Recycle to garage only after the scene is truly done.
Between calls, make small progression choices: unlock the next armory gun you will equip, or save toward a better patrol craft. Long-term planning belongs in Rank Progression and the Weapons list.
Sample 40-minute first shift plan
| Block | Focus |
|---|---|
| 0–5 min | Duty on, redeem codes, spawn marked car, test lights |
| 5–15 min | One low-priority call (party/hazard), full talk + MDT |
| 15–25 min | One traffic stop practice, cite or release cleanly |
| 25–35 min | One higher call with a squad partner if available |
| 35–40 min | Spend rewards, note what felt slow, read the matching guide |
That plan builds every core skill without burning out on back-to-back bomb threats.
After-action notes worth writing down
- Which menu felt slow under pressure?
- Did sirens help or hurt the scene type?
- Did you cuff before checking warrants?
- Did the call fail to close because someone skipped booking?
Fix one friction point per session. Pair this page with How to Arrest if booking is the weak link, or Traffic Stops if roadway work feels messy.
Related hubs
Keep Guides Hub, Tier List Hub, Codes, Game Passes, and Updates close. First shift is a habit builder; the rest of the wiki turns those habits into ranked loadouts and faster unlocks.
When you can run gear → garage → dispatch → arrival → MDT → clear without looking up every button, you have finished training. Everything after that is choosing harder callouts on purpose.
Frequently Asked Questions
Quick answers for patrol, codes, units, and progression.
What should I do first when starting a shift?
Go on duty, equip a simple kit, spawn a marked patrol car, and verify lights/sirens before accepting a call.
Should I use lights and sirens on every call?
No. Use emergency response for high-threat, time-critical scenes. Quiet or soft arrivals fit parties, some hazards, and undercover stings.
How do I make sure I get XP and cash?
Complete the scene objectives end-to-end, including booking if you arrested someone. Leaving markers unfinished often blocks rewards.
Is squading required on the first shift?
Not for low-priority calls, but strongly recommended for armed robberies and bomb threats on 15-player servers.
What page should I read after First Shift?
Traffic Stops for roadway work, Callouts for priority mindset, and How to Arrest for MDT-to-booking flow.